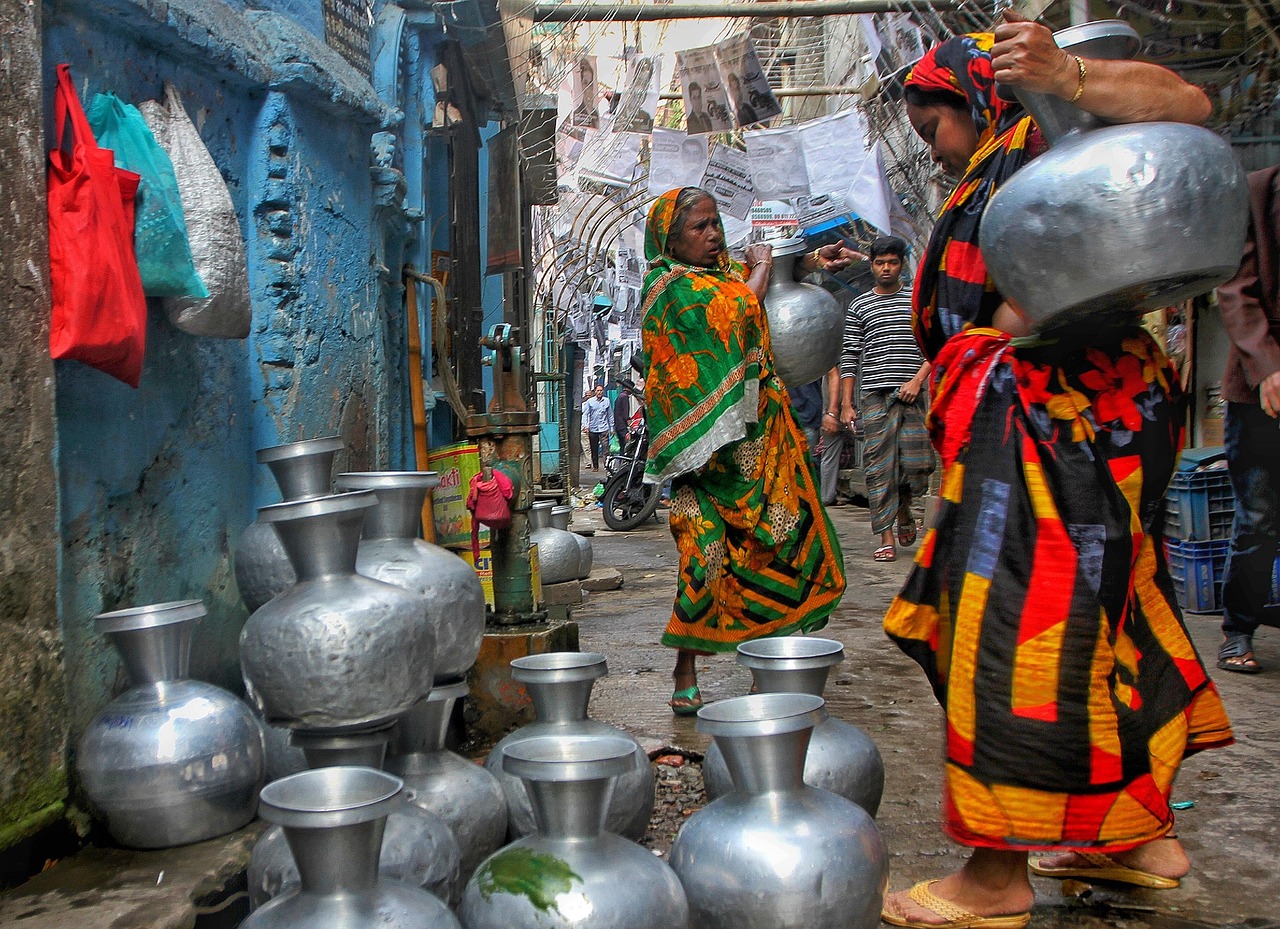
Water is the survival priority that punishes delay. You can last weeks without food, but only about three days without water, and dehydration degrades your judgment and strength long before it kills you. In a wilderness emergency, finding water and making it safe to drink is often the most important skill you have. The two halves matter equally: knowing where to find it, and knowing how to make it safe, because wild water that makes you violently ill can leave you worse off than no water at all.
Where water hides
Water follows predictable rules, and reading the landscape points you toward it.
- Go downhill. Water obeys gravity and collects in low points, valleys, and the bottoms of drainages. When in doubt, descend.
- Follow the green. Lush, vivid vegetation often marks water near the surface, even where none is visible. Animal trails frequently lead to it as well, especially converging trails and those heading downhill.
- Read the terrain. The base of cliffs and rock faces, the outer bends of dry streambeds, and shaded crevices can hold water long after the surrounding ground is dry. Dig a foot or two down in a damp streambed and water may seep in.
- Collect rain and dew. Rain is among the safest water available. Catch it with any tarp, container, or clean surface. At dawn, you can sop heavy dew from grass with a cloth and wring it out.
- Morning dew and plants. In some environments, tying a bag around a leafy living branch collects moisture through transpiration over a day.
Clear does not mean clean
The most dangerous mistake in the backcountry is assuming that clear, cold, fast-moving mountain water is safe to drink. It is not. Even pristine-looking streams can carry microscopic parasites and bacteria from an animal carcass or waste upstream that you will never see. The illness that follows, with its vomiting and diarrhea, accelerates dehydration and can turn a manageable situation into a deadly one. Treat every wild water source as contaminated until you have made it safe. There are no exceptions to this rule in survival, no matter how clean the water looks.
Ranking your sources when you have a choice
Not every water source carries equal risk, and knowing the rough hierarchy helps you choose well when you have options:
| Source | Relative risk | Notes |
|---|---|---|
| Rain, collected directly | Lowest | Still worth filtering if collected off a dirty surface |
| Moving spring water, near the source | Low | Still treat; upstream contamination is invisible |
| Flowing streams and rivers | Moderate | Always treat; risk rises with more upstream development or livestock |
| Ponds, lakes, and standing water | Higher | Slower moving water concentrates contaminants; always treat |
| Puddles and stagnant pools | Highest | Last resort; treat thoroughly, filter sediment first |
Making water safe: three reliable methods
Once you have found water, you must treat it. There are three dependable ways, and carrying the means for at least one is basic wilderness sense.
1. Filtering
A quality portable filter physically strains out the bacteria and parasites that cause most wilderness illness, and it works instantly with no waiting, no fuel, and no chemicals. It is the fastest and easiest method, which is exactly why a compact filter belongs in every pack, glovebox, and go-bag.
The easiest way to make water safe

Affiliate note: buy through this link and ThisTracks may earn a small commission at no extra cost to you. We only list gear that is in stock and that we would carry ourselves.
2. Boiling
Boiling is the most foolproof method and kills everything that can make you sick. Bring water to a rolling boil for at least one full minute, and longer at high altitude where water boils cooler. The catch is that it requires fire and a container, so it pairs with your ability to make fire, covered in primitive fire starting. If the water is murky, let it settle and pour off the clear water, or strain it through cloth before boiling.
3. Chemical treatment
Purification tablets or a few drops of unscented household bleach will disinfect water when you have no filter or fire. Chemical treatment is light and packable, making it a good backup, though it requires a waiting period, typically 30 minutes to a few hours depending on water temperature, and does not remove sediment. Carrying tablets as a backstop to a filter covers you if the filter is lost or clogged.
Reducing the sediment first
Murky or sediment-heavy water is not necessarily more dangerous, but it clogs filters fast and makes chemical treatment less effective, since particles can shield organisms from the treatment. A simple pre-filter, pouring the water through a bandana, shirt, or several layers of cloth, or letting it sit undisturbed for twenty to thirty minutes so heavier particles settle to the bottom, meaningfully extends the life of a filter and improves the reliability of any treatment method that follows.
Cold weather changes the calculation
In freezing conditions, finding liquid water becomes its own challenge, and melting snow or ice for water costs significant fuel and time, roughly six to seven units of snow volume to produce one unit of water, since snow is mostly trapped air. Never eat snow directly to hydrate in a survival situation, since it lowers your core body temperature and burns calories you cannot easily replace, working against you rather than for you. Melt it first, over a fire or a stove, and treat the resulting water the same as any other wild source once it is liquid.
Common questions
Is it ever acceptable to drink untreated wild water?
Only in a genuine last-resort situation where the alternative is severe, imminent dehydration and no treatment method is available at all, and even then it is a real gamble weighed against a real and immediate threat. It should never be a default choice when any filtering, boiling, or chemical option exists, even an improvised one like a cloth pre-filter and extended settling time.
How much water should I try to collect at one time?
Enough for the next 24 hours if the source allows it, roughly one gallon per person per day for drinking alone, more in heat or with exertion. Collecting in bulk when a good source is available, rather than making frequent short trips, reduces the time and energy spent on water gathering overall.
Does altitude actually change how I should treat water?
Yes, for boiling specifically. Water boils at a lower temperature at high altitude, so the standard one-minute boil is extended, commonly to three minutes above about 6,500 feet, to ensure the same level of safety. Filtering and chemical treatment are not significantly affected by altitude in the same way.
Wilderness water, condensed
- Water is a three-day priority. Find it and treat it before you are desperate.
- Go downhill, follow green vegetation and animal trails, and collect rain.
- Clear does not mean clean. Treat every wild source as contaminated.
- Filter for speed, boil for certainty (longer at altitude), use chemicals as a light backup.
- Pre-filter murky water through cloth to protect your filter and improve treatment.
The ability to turn a muddy trickle into safe drinking water is one of the most empowering skills in the wild, and it removes the single fastest-acting threat you are likely to face. Learn to read the land for water, always carry a way to treat it, and never gamble on a clear stream. That combination keeps the three-day clock from ever starting to run against you.