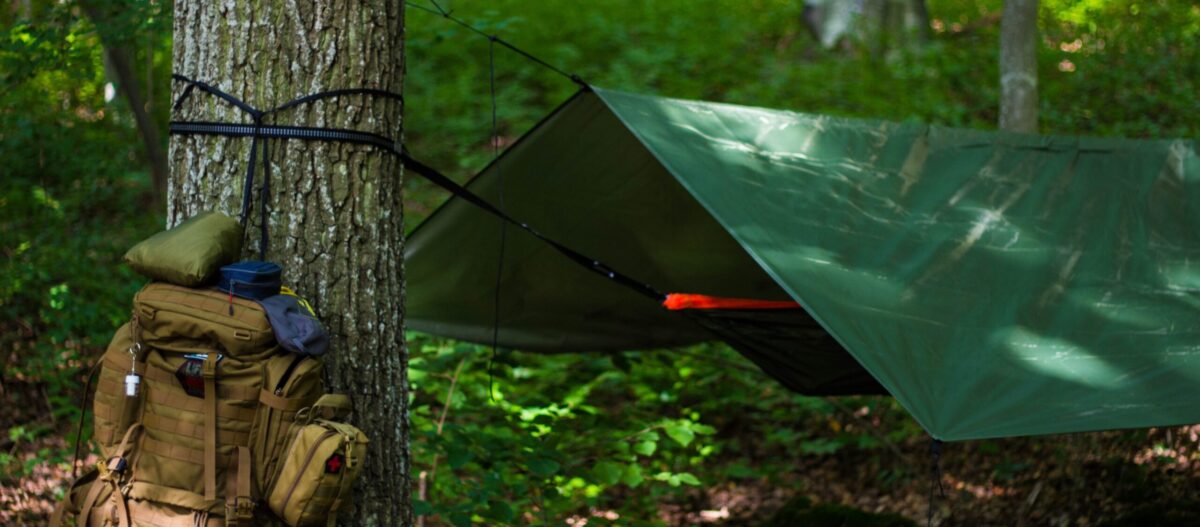
In a survival situation, shelter is not about comfort. It is about heat. The Rule of Threes puts exposure right near the top of what kills people, above thirst and far above hunger, because losing core body temperature is quiet, fast, and it makes you too confused to fix the problem before it is too late. A shelter is simply a machine for keeping your body heat where it belongs. Understand that one idea and you can build an effective shelter from almost anything.
The four jobs of a shelter
Every good survival shelter, from a high-tech tent to a pile of leaves, does the same four things. Judge any shelter by these:
- Blocks wind. Wind strips heat away far faster than still air, so a windbreak is often the most important single feature.
- Keeps you dry. Wet is the enemy. Water conducts heat out of your body many times faster than air, so a roof and dry insulation matter enormously.
- Insulates from the ground. This is the mistake beginners make. The cold ground pulls heat out of you all night, so you need a thick layer of insulation underneath you, often more than above you.
- Traps your heat. The smaller the space, the easier your body warms it. A shelter sized just big enough for you holds heat; a large one never gets warm.
Build it small and insulate the ground
The two most common shelter mistakes are building too big and forgetting the ground. A cavernous shelter is a heat sink your body can never warm; make it just large enough to lie down in, coffin-sized, so your own warmth fills it. And pile up a thick bed of dry leaves, grass, pine boughs, or debris to lie on, because far more heat is lost into the cold earth than most people expect. Get these two things right and even a crude shelter will keep you alive through a cold night; get them wrong and the finest-looking lean-to will let you shiver until dawn.
Use what is around you
The fastest shelter uses existing features. A dense stand of evergreens, a rock overhang, a fallen log, or a hollow can become shelter with minimal work, and working with the landscape beats building from scratch every time. Look for natural windbreaks and roofs first, then improve them. In deep snow, the snow itself is an excellent insulator and can be shaped into a highly effective shelter.
The debris hut: a shelter from nothing
When you have no gear, the debris hut is the classic answer. Lean a sturdy ridgepole against a stump or low branch, lean shorter sticks along both sides to form a ribcage, then pile on a thick layer of leaves, grass, and forest debris, the thicker the better, until it is one to two feet deep all over. Fill the inside with dry insulation to lie in. The result is a cocoon of trapped air that your body heat warms through the night, built entirely from what the forest gave you.
Reading how much insulation is enough
A common beginner question is simply how thick is thick enough. As a working rule, if you can see or feel the frame structure clearly through the debris pile, it is not thick enough yet; a properly insulated debris hut wall should look like a solid mound with no gaps of daylight showing through when viewed from outside. For the ground layer specifically, compress a handful of your insulation pile with your fist; if it compresses down to almost nothing, you need roughly three to four times that volume before lying on it, since loose debris compresses significantly under body weight.
Where gear speeds everything up
You can build from nothing, but a few light items turn an hours-long project into a minutes-long one. Cordage lets you lash a frame or rig a tarp fast, and a compact emergency bivvy or space blanket provides an instant windproof, waterproof, heat-reflecting layer.
Shelter shortcuts worth carrying


Affiliate note: buy through these links and ThisTracks may earn a small commission at no extra cost to you. We only list gear that is in stock and that we would carry ourselves.
Beyond the emergency night
The shelters here are for immediate survival, the first night or two. If you need protection for a longer stretch, the priorities shift toward durability and comfort, covered in building a long-term survival shelter, and in cold country the difference is made by insulation techniques. Shelter also pairs inseparably with fire, so build your fire-starting skills alongside it, and learn a few essential knots to make lashing fast.
Practicing before the stakes are real
Shelter building is a skill that reads as simple and turns out to be genuinely humbling on a first real attempt, mostly because gathering “enough” debris always takes longer than people picture. Build a debris hut in your own backyard on a calm weekend, sleep a single night in it if conditions allow, and you will learn more about your own technique and materials in that one afternoon than from any amount of reading. The lessons, how much debris is actually enough, how the ridgepole wants to be angled, how long the gathering really takes, transfer directly to a genuine emergency.
Common questions
How long does it realistically take to build a debris hut from scratch?
For a first attempt, plan on one to two hours of steady work, most of it spent gathering enough debris, which always takes longer than people expect. With practice, an experienced builder can construct a functional debris hut in well under an hour, which is exactly why practicing this skill before you need it matters so much.
Is a fire inside or right next to a shelter ever a good idea?
Only with real caution and proper design. A reflector wall that bounces a fire’s heat into an open-faced shelter, like a lean-to, works well and is a classic pairing. An enclosed shelter like a debris hut should never have a fire inside it due to smoke and fire risk; its insulation is designed to trap your own body heat instead.
What if the ground is too hard, wet, or rocky to gather debris easily?
Shift strategy toward elevated or built insulation rather than a ground-based pile: a platform of branches laid across two supports, or clothing and pack contents used as an insulating layer, can substitute when the ground itself will not cooperate. This is one more reason natural features, an overhang or a hollow, are worth prioritizing when the terrain is difficult.
Shelter building, condensed
- Shelter is about heat, not comfort. Exposure kills fast.
- Block wind, stay dry, insulate from the ground, and trap your heat.
- Build small, coffin-sized, and pile thick insulation underneath you.
- Use natural features first; the debris hut builds shelter from nothing.
- Cordage and a bivvy turn an hours-long job into a minutes-long one.
A person who understands that shelter is a heat machine will never be truly helpless outdoors. Whether you have a full kit or only the forest floor, the principles are the same: small, dry, insulated, out of the wind. Master those, practice building a shelter before your life depends on it, and you have taken the sting out of the threat that fells more people in the wild than any other.